February 18, 2021, Adding a few details on the 42UL build:
Been awhile since we posted anything, I’ve got a few photos from the 42UL that never got posted, thought we get that in. I took some pics of how I update the valve covers to help keep the oil on the inside.

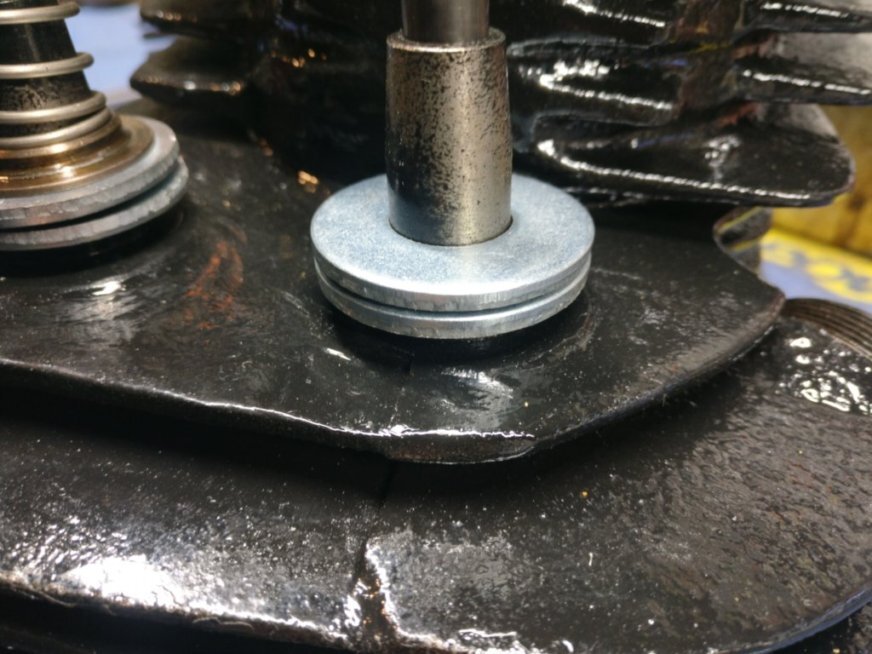
Two garden variety flat washers, with inner hole turned to just fit over valve guide, and one countersunk for “O” ring

First washer in place, minus valve cover to show assembly
Here the 2 washers are in place, with the “O” ring sandwiched between. In final assembly of course, they will be inside the valve cover.

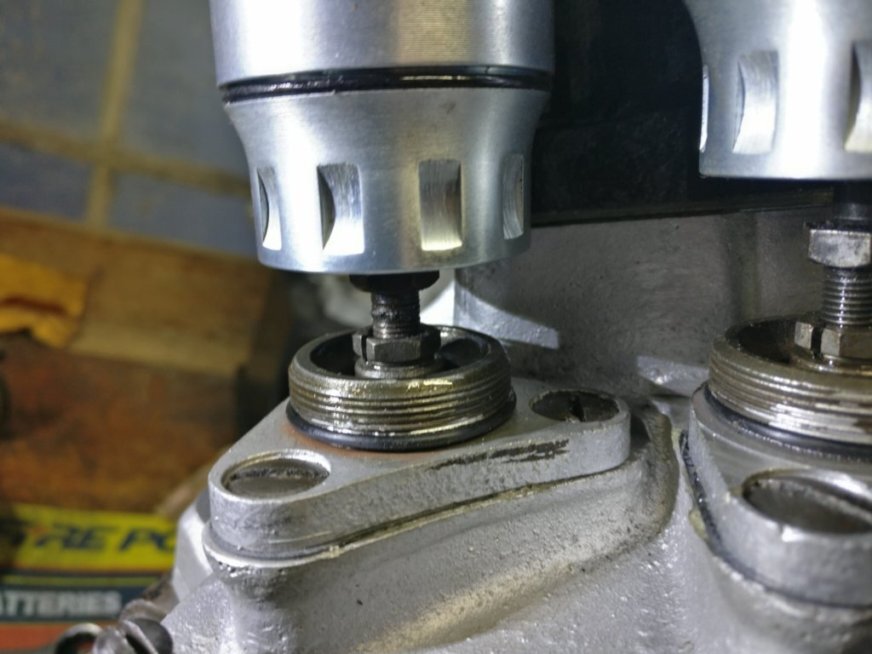
Here’s the countersunk washer in place in the valve cover, about to be placed on the valve guide.

Cover in place, waiting for the second washer. When doing actual final assembly, a high temperature silicon sealant is placed between the countersunk washer and the bottom of the valve cover to seal that joint.
Here’s the valve cover with springs,keepers, etc in place. You can see that “O” rings have been added to seal the covers. What you can’t see is that the upper part of the sliding cover has been internally grooved so that an “O” ring can be fitted between the sliding cover and the upper cover.
This shows the assembly of the early style cover with modifications to help keep oil on the inside. I don’t like leaky motors. On my first installation with the countersunk washers I actually soldered the countersunk washer to the upper cover to seal that possible leak. I got lucky, in that the upper covers and lower covers were in fairly close alignment. Otherwise, screwing them together would have been a real, uh, Pain! So on this install, I used a 600 deg rated silicone to make seal at that point and give some flexibility in aligning parts. It’s a slow setting silicon and I had time to assemble valve cover assy’s to jugs and mount jugs to lower end. I got the “O” rings from McMaster, just measured diameters and ordered accordingly.
One problem I’m trying to resolve here is the possible source of leaking caused by the upper valve cover only being held in place by the valve spring. Seeing as it leaks here, I theorize that the pressure on the juncture of the cover to valve guide flange fluctuates as the valve springs compress and relax. Perhaps to the point that some harmonic is setup and the springs momentarily supply no pressure at the joint. And, out comes the oil. I’ve tested this system on my own ‘37ULH and it does work.