38U engine build Connecting rods edition
We’re going to put up some pics of prepping connecting rods, to wit, installing new races in the rods.
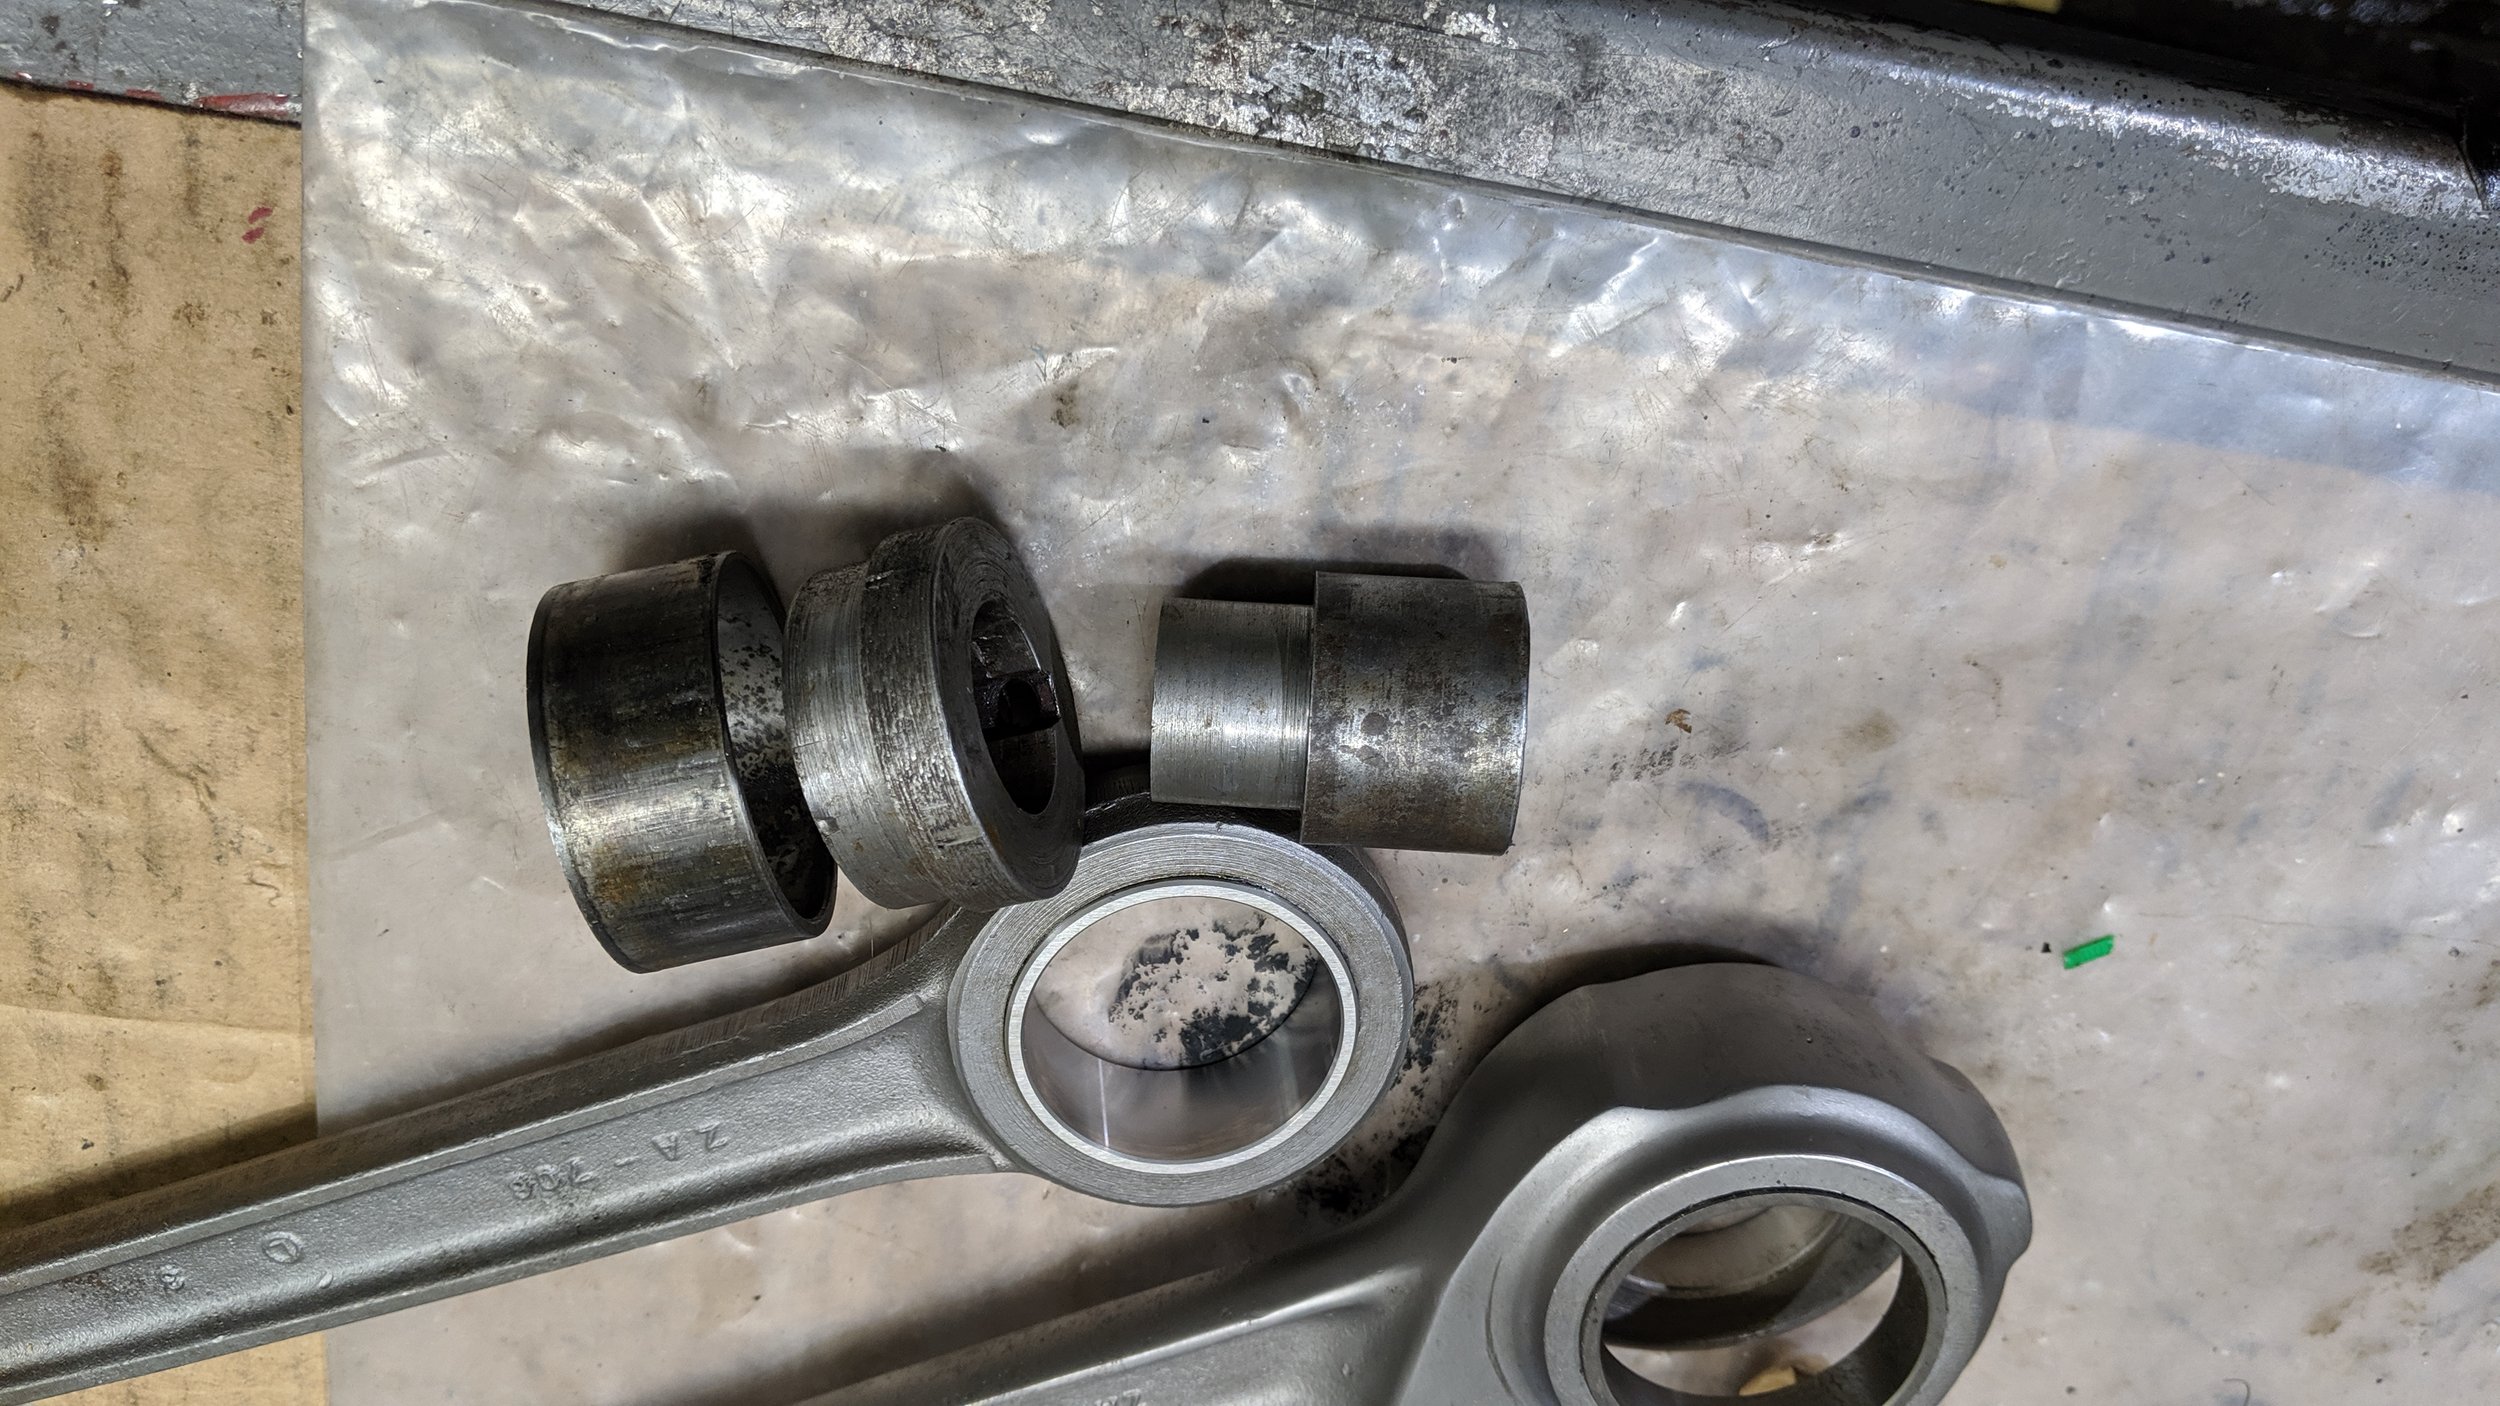
Herer are the 2 rods and the two pieces of the install/remove tools. Also shown is the old male rod race and the new race installed.
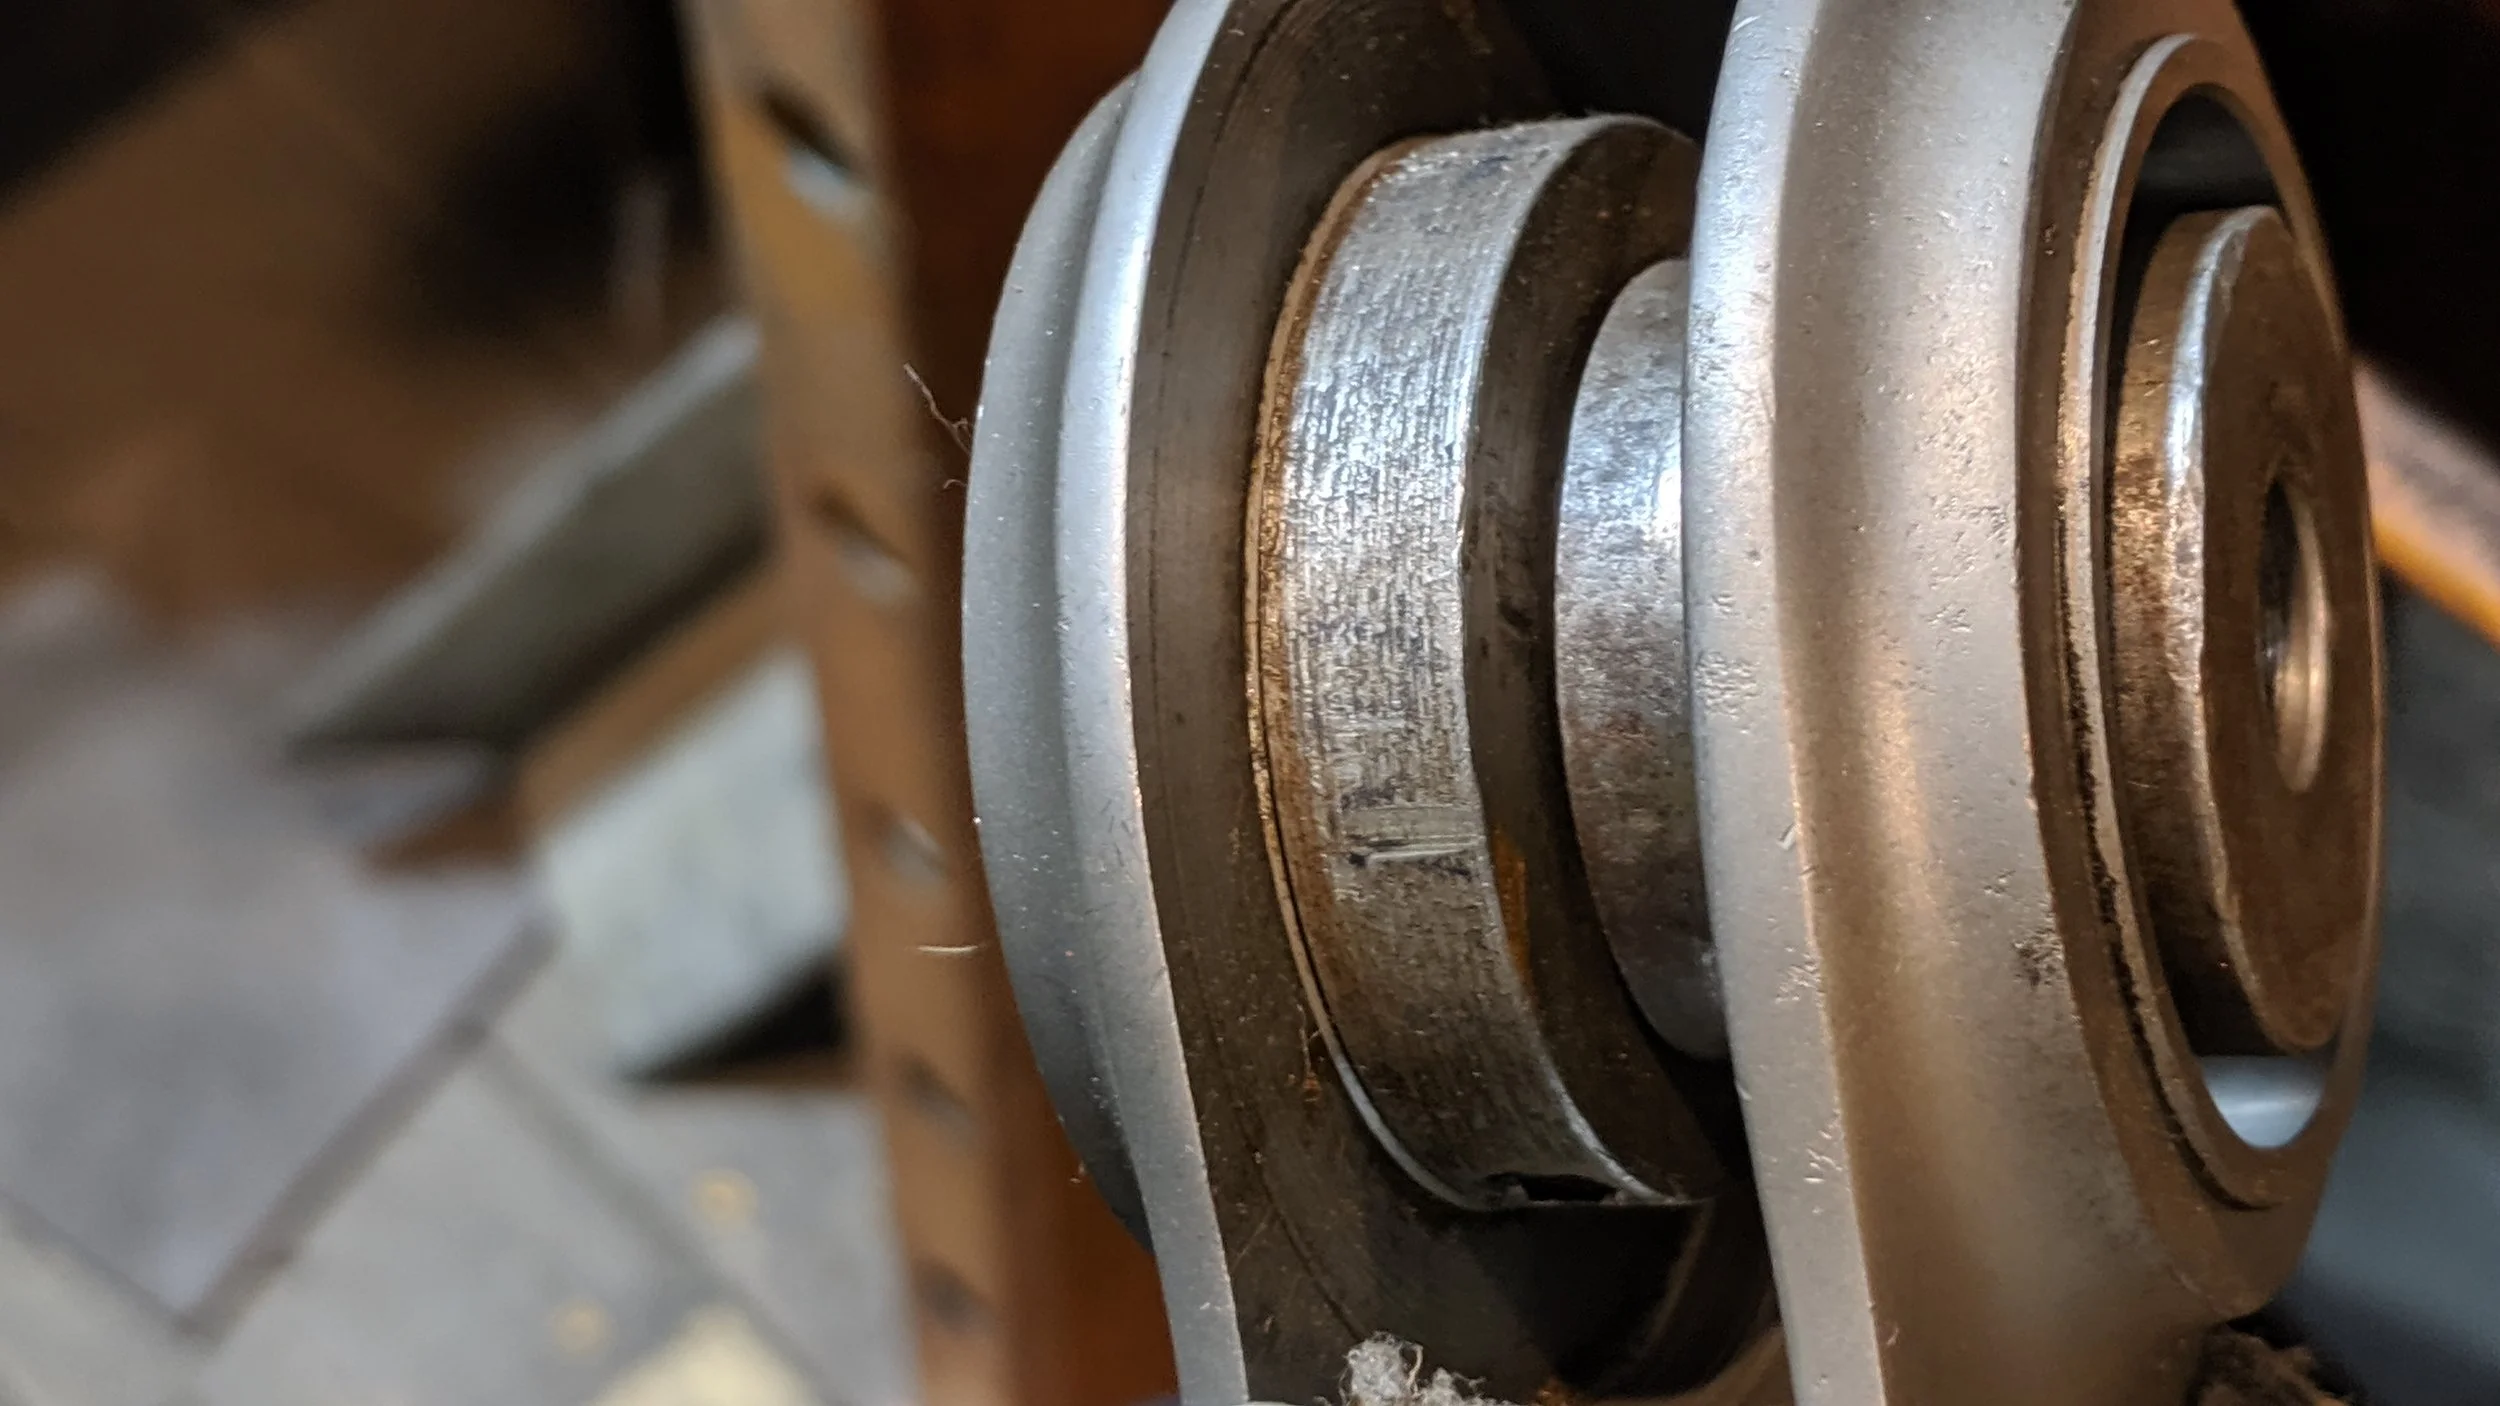
Here are the 2 pieces installed in the female rod having just pushed out one of the female races. You press the races outward so that the female half can be braced solidly on plates in the press so that you aren’t trying to squeeze the to female races together when you apply pressure.
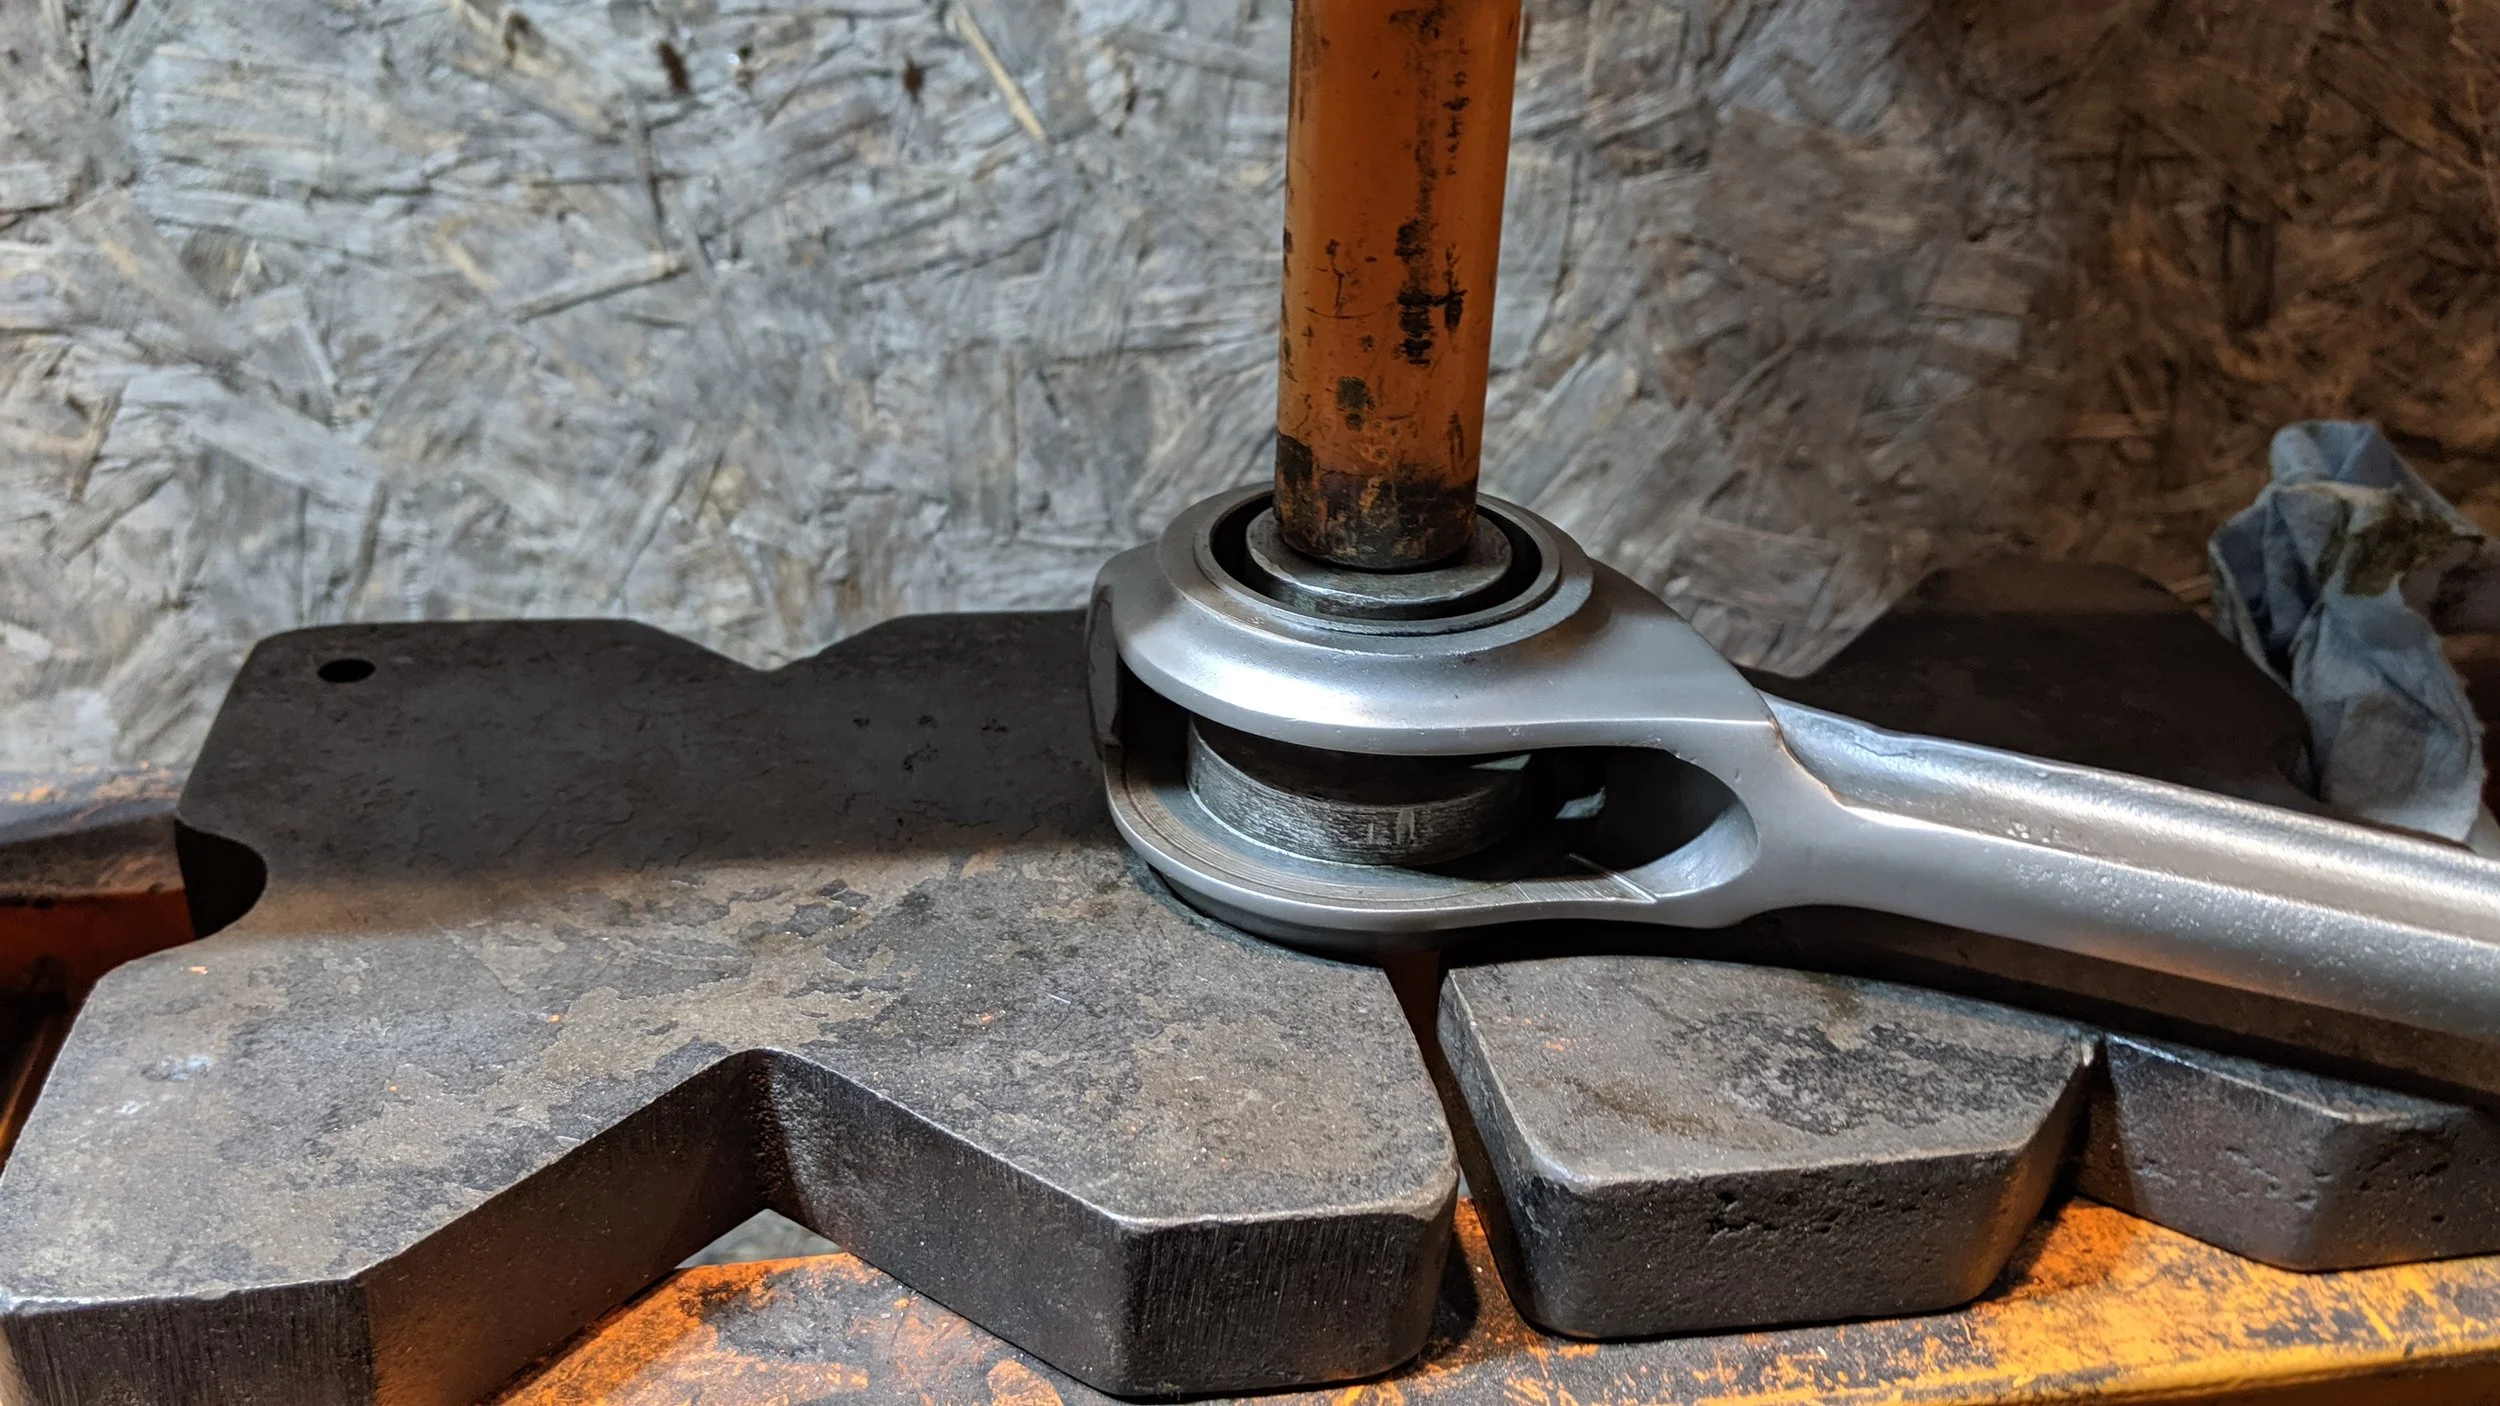
Here you can see how the female leg is braced solidly on the two plates in the press

Male rod being lapped to size on the rod lap smeared with220 grit lapping compound.
When lapping rods on the lap, the lap is slowly enlarged by rotating the two collars on either end. The collars are the round pieces with 4 holes located on their periphery
The procedure.is to adjust the collars so the lap is small enough for the rods to slide over it. The lap is slowly enlarged in size as the rods are enlarged by passing them over the lap as it spins (200rpm) in the lathe. You make about 10 end to end passes over the lap, then remove the rod from the lap, then flip it over so that the opposite side of the rod enters on the lap first. This equalizes the removal of material from the rod so that the bore in the rod is lapped equally and has a consistent diameter.
You swap for the other rod and lap it so as both rods are increased in size identically. The amount of material removed from the rod races at each 10 group of passes may be as little as one half to one ten thousandth of an inch. If you rush it you’re likely to get a bell shaped race or one of unequal diameter. However, if you take your time you can get results sized to the tenth.